Sandustry Beginner Guide
The first gold loop, what to research first, and the three mistakes that cost new players the most time — with the actual numbers behind each.
GamePrimer EditorialUpdated Verified
Dig sand, drop water on it to make wet sand, drop the wet sand onto a Shaker. That is your gold loop, and the Shaker costs 20 Gold — the cheapest thing in the research tree. Build it first, automate it second, and do not spend Gold on the Gun.
The 60-second version
- Sand + Water → Wet Sand. One sand pixel and one water pixel touching become two wet sand. You do not need a building for this; you need water falling on sand.
- Wet Sand + Shaker → Gold + Residue. Drop wet sand on top of a Shaker. Gold falls out the bottom, residue is pushed slowly off the top.
- Gold → Collector. Gold only counts towards your bank once it is stored in a Collector. A pile of gold on the floor is not currency.
That loop funds everything else in the game.
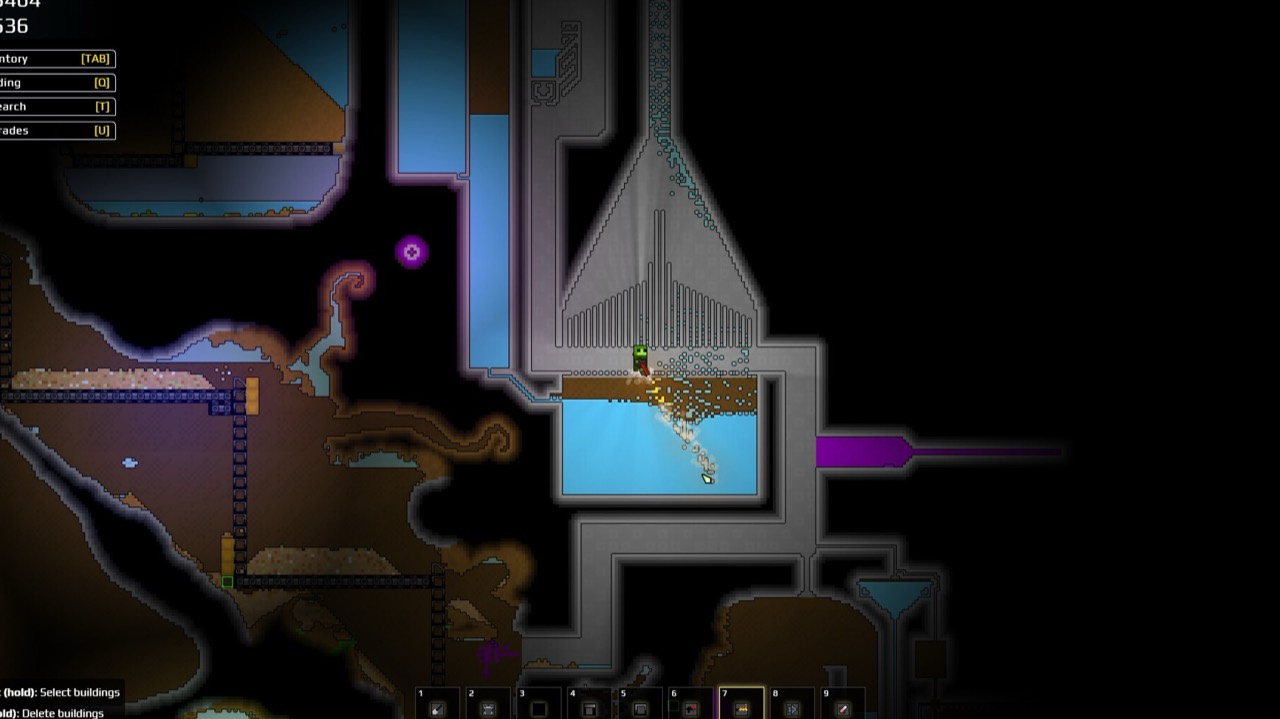
What the Shaker actually pays out
Each wet sand pixel that lands on a Shaker always produces one residue, and has a 1-in-4 chance of also producing a gold. That gives you roughly:
| How far you process | Gold you get |
|---|---|
| Shaker only | 1 Gold per 2 Sand |
| Also pressing the residue | 1 Gold per 1 Sand |
| Full chain, including planting the seeds | 3 Gold per 2 Sand |
Those are averages over volume, not a promise per pixel — two of the steps are dice rolls. The practical lesson is that the residue coming off your Shakers is worth as much gold as the Shakers themselves are producing. Do not sweep it into a hole.
What to research first
Tier 1 is cheap. Get these, in this order:
| Research | Cost | Why now |
|---|---|---|
| Shaker | 20 Gold | This is the gold loop. Nothing happens before it. |
| Logistics | 30 Gold | Conveyor belts and launchers. Manual hauling does not scale past your first few minutes. |
| Filter | 250 Gold | Separating gold from everything else is the difference between a factory and a pile. |
Skip the Gun. It costs 1,500 Gold, and the thing new players most often want it for — breaking through Crackstone — is exactly what it cannot do. See how to break Crackstone.
Filters, and why gold is the easy one
A Filter is a conveyor belt that lets one chosen material fall through instead of riding along. Two modes: Allow one material through, or Block one material and pass everything else.
Gold is the densest material in the game, so in any mixed pile it sinks to the bottom — right where the Filter is. That is why “Allow Gold” is the single most reliable filter setup you can build, and why you should sort gold out first and worry about the rest afterwards.
The corollary matters too: filtering a light material out of a tall mixed pile often fails, because it never reaches the bottom to fall through.
Water does not behave like a solid
This is the thing that catches everyone.
Water is not stopped by filters. It passes straight through them, and through most other buildings. The short list of things that actually block it: Block, Conveyor Belt, Kinetic Press and Flux Emanator.
Liquids have their own transport system — Pump in, Pipes across, Liquid Vent out — and once you mix two liquids in one pipe network you cannot separate them at the output again.
The failure mode to watch for: if water is falling through a Filter at the same time as sand, the sand turns into wet sand inside the filter, gets stuck there, and stops moving in either direction. You will have to clear it by hand. Keep your water and your dry materials on separate paths. Full walkthrough: separating wet sand and water.
Build habits worth forming in the first hour
Cto select,Ctrl+C/Ctrl+Vto copy. Once you have one Shaker line working, you paste it, you do not rebuild it.- Hold
Ctrlto replace a building in place, keeping the layout. This is how you upgrade a line to Mk.2 belts later without tearing it down. - Put Shakers in a downward diagonal staircase. Shakers push residue very slowly. Wet sand is denser than residue, so on a staircase the wet sand settles onto each Shaker while the residue floats up and flows onward. A flat row of Shakers clogs; a staircase self-clears.
- Ten hotbars, ten slots each, switched with
Alt+ number orAlt+ scroll.
What not to do
- Do not chase ratios before you have throughput. A perfectly balanced line that is fed by hand produces nothing.
- Do not build wide before you can move things up. Vertical transport is the real constraint. If a resource is hard to lift, the official advice is to change its state — turn it into a gas and let it rise, then condense it.
- Do not leave gold on the floor. It is not money until a Collector is holding it.
- Do not fight a puzzle you cannot solve yet. Some require tools you have not unlocked. If you are physically stuck, there is an unstuck command in the pause menu.
A note on names
Players — and search results — often call the Shaker’s output “slag”. The game and the official wiki call it Residue, and the burnt version Burnt Residue. Same material, and the pages here use the official names.
Related
- How to break Crackstone — before you spend 1,500 Gold on the wrong tool
- Separating wet sand and water — the first real filter problem you will hit
